Some time ago my students asked for a small sewing bag pattern, and the following is the result.
PLEASE NOTE: This sewing bag is made with Australian fat quarters – which are slightly bigger than USA fat quarters. If using imperial measurements, you will need 2 pieces of fabric minimum 20″ square. If you also wish to make the accompanying needle case and pin cushion, you will need 2 fat quarters of each fabric (or 50cm x width OR 20″ x width)
Requirements:
2 x Australian fat quarters OR 2 pieces of fabric 20” square (1 for bag and 1 for lining) (Please see note above)
2 x small pieces of wadding (minimum 3″ x 13″ and 6″ x 7″)
VBB4 Bag Base (wholesaler: Victorian Textiles) Ask your local patchwork store to order one in or contact Somerset Patchwork for mail order.
Sewing machine
Matching thread
Pins
Needle
Construction – all seam allowances are ¼” unless otherwise stated. Please read instructions before commencing project.
Bag Outside:
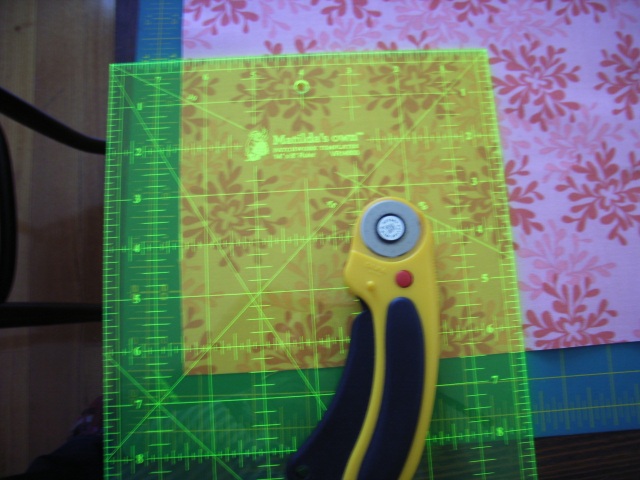
From bag fabric, cut a 19½” square.
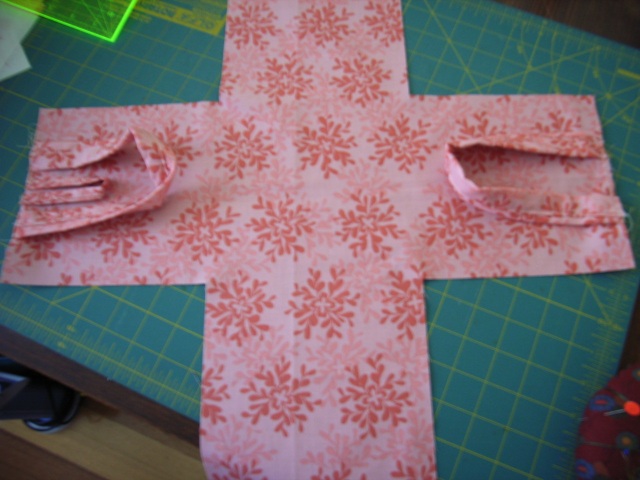
Cut 6½” squares from each corner forming a +
Keep the cut out 6½” squares.
Handles:
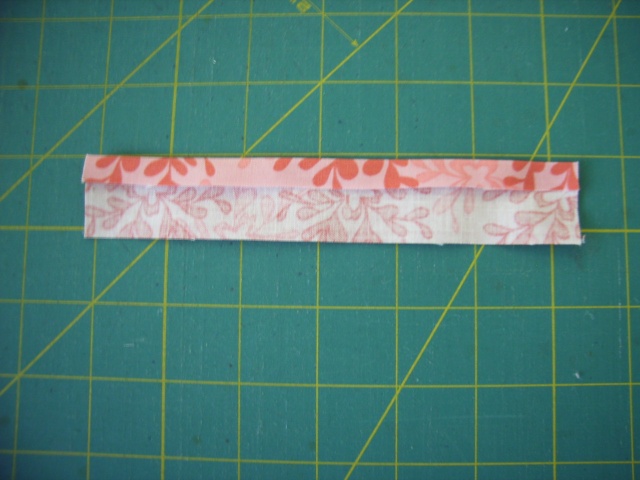
Cut one of the 6½” squares in half and join the short ends making a rectangle 12½” x 3¼”. Fold under one long edge ¼” and press.
Cut a strip of wadding 1” x 12½”.
Lay the wadding in the centre of the wrong side of the handle strip.
Fold the raw edge over the wadding strip, then the folded edge.
Pin and stitch.
Repeat to make a second handle
Place handles 1½” in from edge on the right side of two opposing sides of the bag. Pin in place.
From the third 6½” square cut a strip 1½” x 6½”.
Fold under ¼” on one long edge.
Like the handle, fold in the raw edge and then the folded edge, press and top stitch. (There is NO wadding in this strip).
Place this handle keeper between one of the handles. Pin in place.
Baste the handles and handle keeper into place.
With right sides together, sew the “side seams” of the bag, making a topless cube. Backstitch at each end of seam to secure.
Bag Lining:
From lining fabric, cut a 19½” square. Cut 6½” squares from each corner forming a + (same as bag outer) and keep the 6½” squares.
Pockets:
Fold a 6½” square in half, right sides together and sew the long edge. Turn right side out, press and top stitch folded edge. Repeat with other three 6½” squares.
On the right side of the bag lining, place seamed edge of pocket at the bottom edge of the + and pin into place. (Top stitched edge forms top of pocket.)
Stitch a “U” around the sides and bottom of each pocket; make the side seam slightly less than ¼” seam so stitches are hidden in the seam allowance when finished.
If desired, fold one of the pockets in half and stitch down the folded line to make two smaller pockets.
Ensure long ends of threads are left at the beginning and end of the stitching; take these threads to the back, tie off and snip leaving a tail.
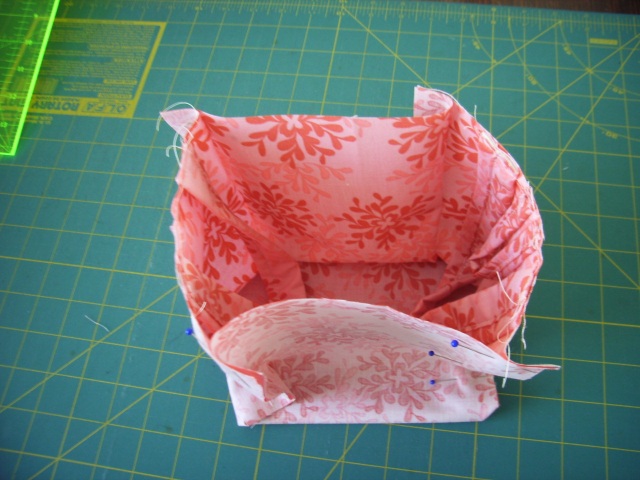
Like the bag outer, with right sides together, sew the “side seams” of the lining, making a topless cube. Backstitch at each end of seam to secure. Turn right side out.
Putting the Bag Together:
Place the lining inside the bag, right sides together, and sew around the top edge leaving a gap to turn on one of the no handle sides. Repeat the stitching to reinforce.
Turn right side out through the gap and press the bag. Top stitch at ⅛” around the top of the bag. Insert the bag base for support.
Well done!
Thread Holder:
From the remaining 6½” square, cut 2” squares from each corner making a +. (Either discard the 2″ squares or put them in your applique fabric box or start a collection of 2″ squares for a round the world quilt!)
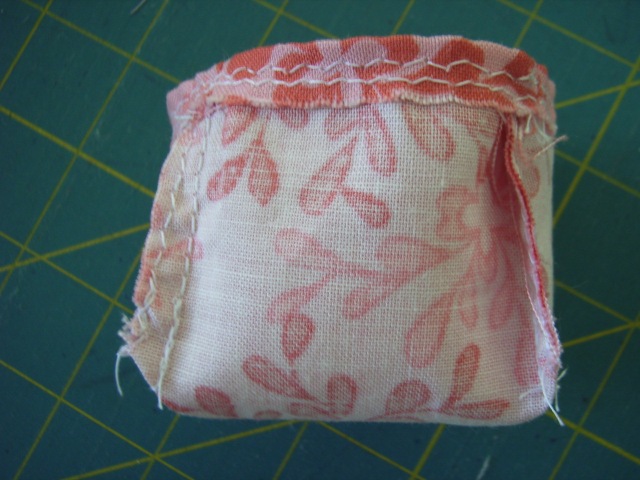
Sew the “side seams” together as before, to form a topless cube. Zig zag the seams to finish. (This piece is not lined.)
Zig zag the top edge. Fold edge over to wrong side and top stitch in place. Turn right side out.
Now you have a thread holder to either place your reel of thread in (so it doesn’t roll around while you’re using it), or you can place snipped threads in it like a small rubbish bag. Great for when you’re out sewing or at class!
Thread End Storer:
From the remaining 5” x 6½”, cut a piece of wadding the same size.
With right sides together sew around edges leaving a gap to turn. Clip corners.
Turn right side out, and top stitch around.
The wadding will hold snipped thread ends, and when folded over it’s a pretty piece of fabric hiding the thread ends. To empty, simply shake over a rubbish bin!
Enjoy! For instructions on making the pin cushion and needle case, please see this tutorial.











We will all have to make a set when we go to sewjourn
Just discovered this tutorial, thank you very much for sharing.
Muito bem explicado.Obrigada!
Gostei muito. Vou fazer. Muito bem explicado.
Obrigada
Awesome”
Love your fat quarter bag! So nice of you to share the pattern and instructions! I have recently found your blog! I love it! I love your Star blocks for the QAL and your fabrics are beautiful!!!